Not too many people think about it, but your shower mirror is like one of your best friends. We always spend our morning in front of it as well as evenings. Whatever we need to do, our friend is always there for us to help with shaving, tweezing, face masks or makeup removal. We can’t imagine our lives without a mirror, and that’s why in this article we will share with you a guide on how a shower mirror installation process goes and what you need to know if you ever need to install a new shower mirror.
Step 1: Choose Mirror
There is an amazing array of styles of shower mirrors. Here are a few options for you:
- Suction cup: The classic choice, perfect for renters or those who prefer a non-permanent solution. Just make sure your surface is smooth and clean for optimal suction.
- Adhesive: Similar to suction cups, but with a stronger hold. Ideal for tile or glass surfaces.
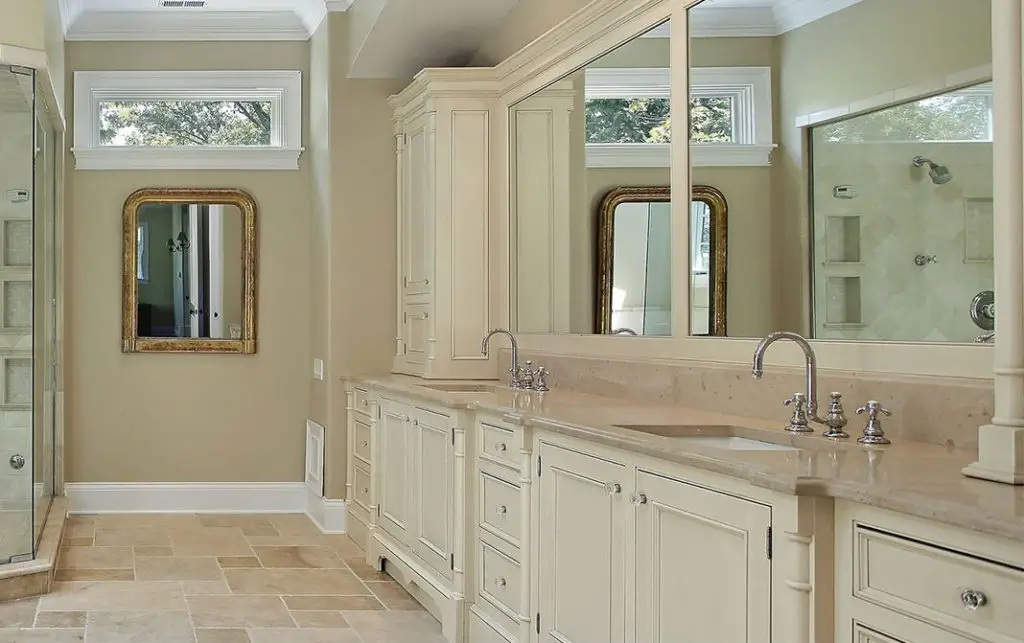
- Framed: Offers a more polished look and can be mounted directly to the wall with screws or anchors.
- Recessed: The ultimate in sleekness, these mirrors sit flush with the wall, creating a spa-like ambiance. Requires more installation effort, though.
Step 2: Prepare The Shower Wall
Before you prepare and look for all your tools, make sure your shower wall is ready for action. Here’s what you need to do:
- Clean the area thoroughly: Remove any soap scum, mildew, or grime with a non-abrasive cleaner. A clean surface ensures a stronger bond for adhesives and a sturdier hold for screws.
- Mark your target: Use a pencil to lightly mark the exact location where you want your mirror to be. Double-check, triple-check, then check again!
Step 3: Let’s get started
- Suction cups: Simply press them firmly onto the clean surface, ensuring no air bubbles are trapped. Some suction cups might have locking mechanisms, so twist them into place.
- Adhesive: Apply the adhesive to the back of the mirror or the mounting bracket, following the manufacturer’s instructions. Press the mirror firmly onto the marked spot and hold for the recommended time.
- Framed or recessed mirrors: Use a level to ensure straight alignment, then drill holes according to the mounting bracket template. Screw the bracket into the wall, then hang the mirror onto it.
Step 4: Victory Dance (Optional, But Highly Recommended)
This is the time to step back to admire your hardworking. You’ve successfully installed your shower mirror.
Bonus Tips for a Flawless Finish:
- Caulk it up: For extra security, especially with framed or recessed mirrors, apply a thin line of silicone caulk around the edges to prevent moisture from seeping in.
- Mirror, mirror on the wall: Hang your mirror at a comfortable height for you to see your reflection clearly.
- Keep it clean: Regularly wipe down your mirror with a non-streaking cleaner to maintain its clarity and prevent water spots.
With these tips and a little DIY spirit, you’ll be wielding your shower mirror like a seasoned pro in no time. So go forth, conquer the steam, and enjoy the clear, confident reflection of a job well done!